

This tutorial was done by talented Cape Town Designer Jeroen T Poisson.
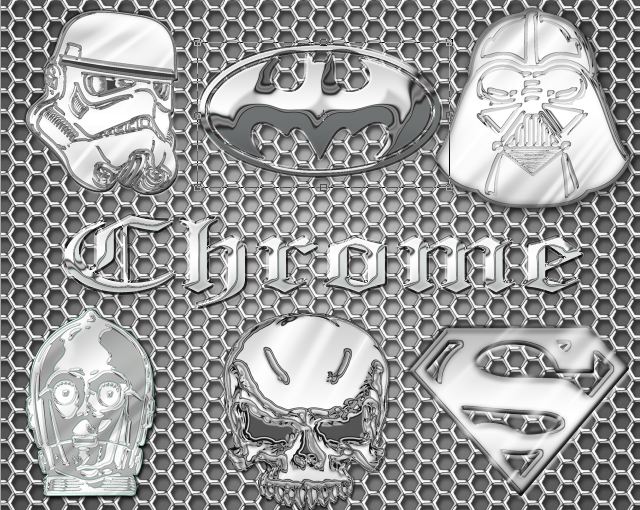
Ever looked at things and thought it looked dull? Ever wanted to add more “bling” to your work and make it really eye catching? With this effect, you can get that shiny, chrome look for your text as well other objects of your choosing!
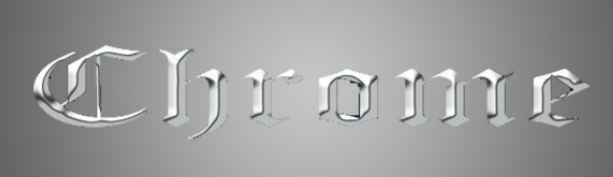
What We’re Making
Step 1 – Set up work space:
- Canvas Size – 1280 x 1024 px
- Resolution – 72 dpi
* Size and resolution will vary on what you want to do.
First create a radial gradient from the center of the page (light to dark – from the inside out), using # 525252 and # C7C7C7.

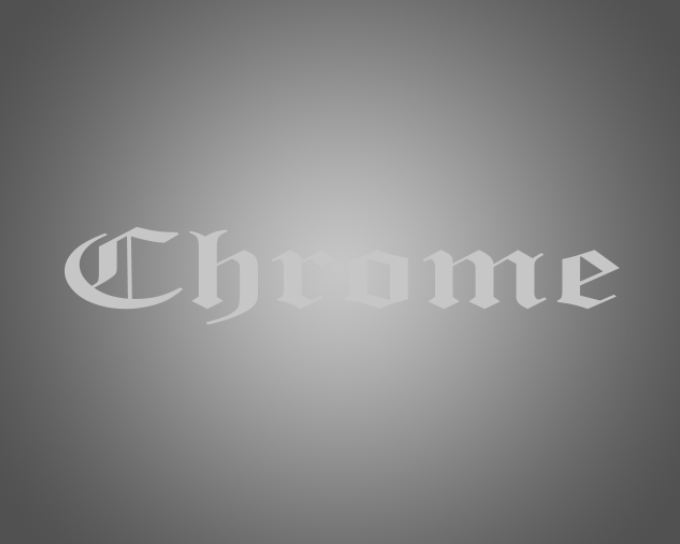
Step 2 – Setting the Type
- Text/ Object Colour – #B3B3B3
- Text Size – 210 pt
Insert your text and centralize it.
* If using an object, make sure it’s a clean vector for the best results.
Step 3 – Setting Up the Layer Style
Select your text layer, the go to:
- Layer > Layer Style > Blending Option (Right click on layer > Blending Option)
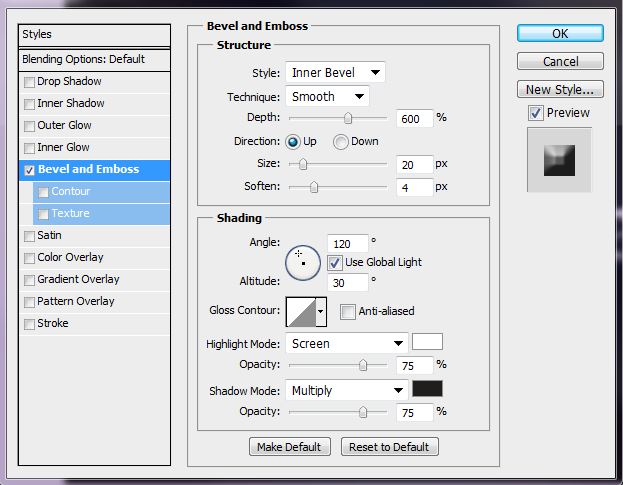
Bevel and Emboss:
- Depth – 600%
- Size – 40 px
- Soften – 6 px
STEP 4: Curves:
Once you have added your effect to your text layers, create a new layer (Ctrl/Command + Shift + N). Merge the new layer to the text layer. This will now allow u to play with the lighting of text or object. This is the key for getting the effect. Now that u have your layer selected, go to:
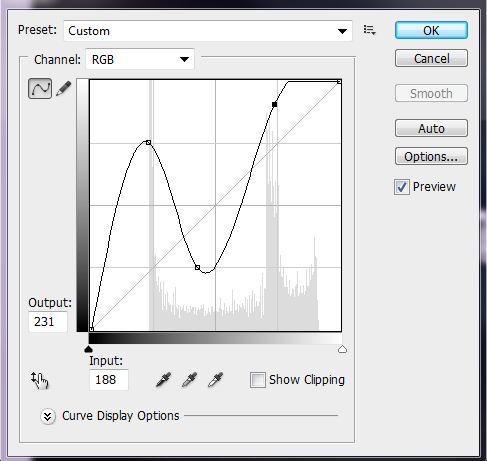
- Image > Adjustments > Curves (Ctrl/Command + M) and make 3 points.
- 1. Output: 192 Input: 59
- 2. Output: 64 Input: 109
- 3. Output: 231 Input: 188
Repeat this adjustment
- Image > Adjustments > Curves (Ctrl/Command + M)
- 1. Output: 193 Input: 61
- 2. Output: 76 Input: 125
- 3. Output: 213 Input: 185
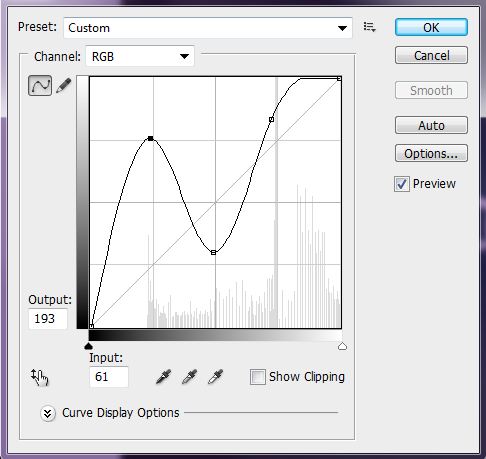

All these specifications may vary depending on your object, the main thing is that the curves you make look similar to what is shown
STEP 5: Defining with more Layer Styles:
- Layer > Layer Style > Blending Option (Right click on layer > Blending Option)
- Inner Glow: Blend Mode – Screen
- Choke – 10 px
- Size – 5 px
- Colour – #FFFFFF
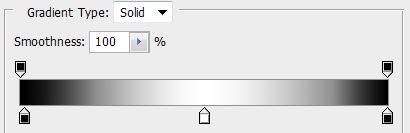
STEP 6: Gradient:
While holding Ctrl/Command, click on the layer box to make a selection around your text/object. Then go to:
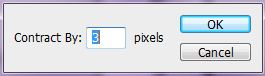
- Select > Modify > Contract > 3px
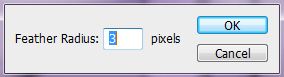
- Select > Modify > Feather > 3px
- On your layers panel, click on the Adjustment Layer Button > Gradient
- Make a linear, Black to White to Black, Gradient at 90 degrees.
- Set the gradients’ layer mode to Multiply
- Opacity: 50%
- Fill: 50%
STEP 6: Gradient:
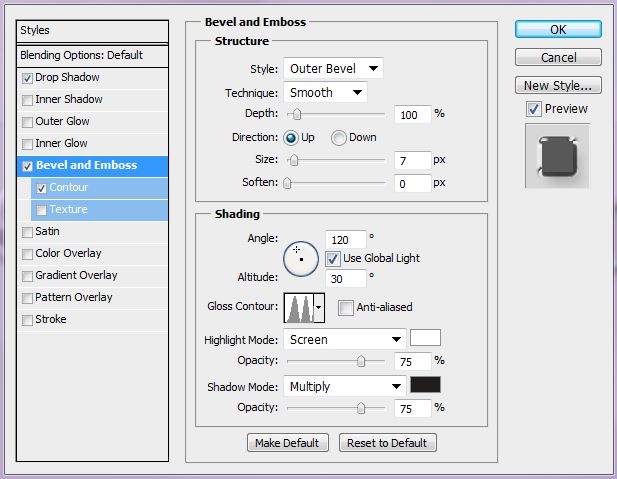
Now duplicate your object layer (Ctrl/Command +J) and remove the effect by clicking and holding on the “fx” icon on the layer and dragging it to the bin at the bottom of the layers panel. Create a new effect:
Layer > Layer Style > Blending Option (Right click on layer > Blending Option)
1) Drop Shadow:
- Opacity – 20%
- Distance – 14 px
- Size – 13 px
- Colour – #FFFFFF
2) Bevel and Emboss (check the contour box): Style – Outer Bevel
- Distance – 14 px
- Size – 7 px
- Gloss Contour – Ring – Double
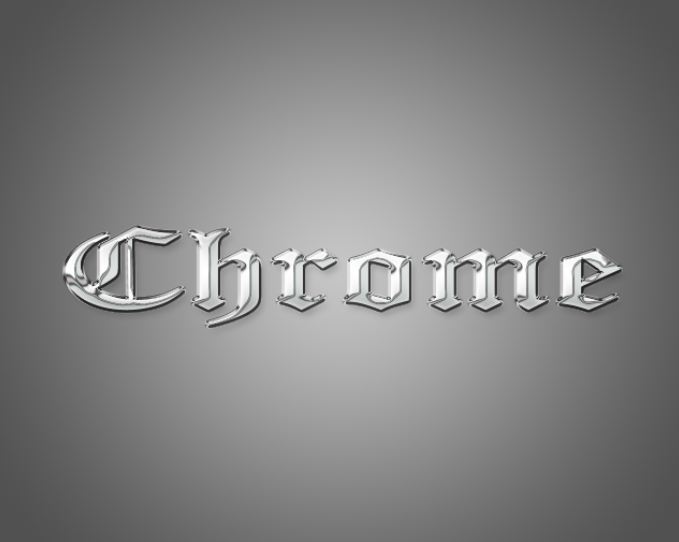
You have successfully completed your Chrome Effect! Although it might have seemed like a long process, in the end the results speak for themselves. After doing this it will become second nature and before you know it, you’ll be able to chrome out anything……………


Really awSum joey:)
LikeLike
Thanks Diane
LikeLike
time to get my chrome on in the teeth and all
LikeLike
Haha you do that! And we’ll post the picture here 😀
LikeLike
A blog is a personal journal in effect but also a place of exchange and
sharing of ideas (as you are currently doing on the subject)
LikeLike
U have a very nice blog over here. I just wanna say thanks for all the interesting stuff on it. I’ll follow your weblog if you keep up the good work!
LikeLike
Excellent blog, This site has really been a revelation for me.
I leave my first comment on this site
LikeLike
I’m glad to hear that. Hopefully you will leave many more 🙂
LikeLike
A big thank you for this article, I know it’ll work for me too
on my blogs.
LikeLike
You’re welcome Melissa!
LikeLike